
The shot details page lets you set shot type, angle etc. for each shot, and assign a storyboard image if you wish.
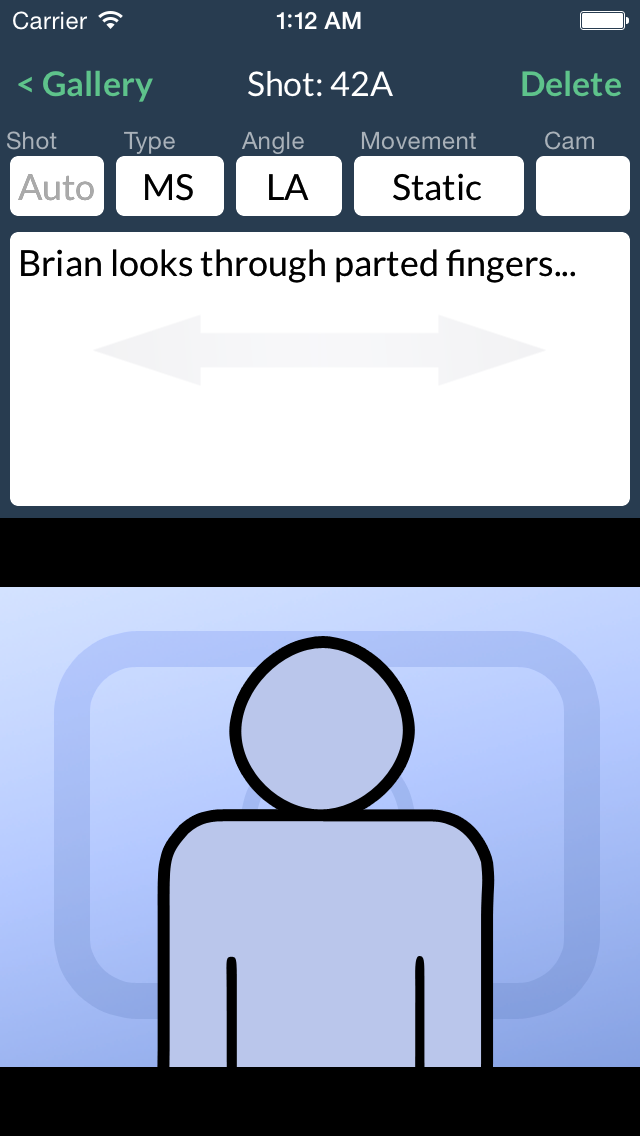
Rotating your iPhone into landscape mode shows a fullscreen image, with no details.
- Shot The shot name shown in the title bar is usually based on its position. If you don’t want the letter to change when reordering shots, you can force a specific letter here, but this can normally be left blank.
- Type of shot runs from “Extreme Long Shot” through to “Extreme Close Up”, then on to “2 Shot”, “3 Shot” and “Group Shot”.
- Angle runs from “Extreme Low Angle” up to “Bird’s Eye”, with a few special cases such as “POV” and “Voyeur” thrown in.
- Movement specifies different types and directions of camera movement, such as “Tracking”, “Panning” “Dolly up” etc.
- Cam specifies which camera to use for this shot (or could be used to set a code for different lenses, if you wish)
Notes lets you enter your notes for each shot. Edit or view by tapping the notes area.
To add an image, tap the image area then select whether to add an image from the Photo Library, import an image from Files (giving access to iCloud, Dropbox, Google Drive etc.) , or take a new picture with the Camera.
To delete an image, tap and confirm.
If you have not added an image, then Shotlist will use a stand-in based on the shot type. This is not intended to literally represent your shot, it is a memory aid to help one series of shots be visually distinguished from another.

Toggle shot status with a double-tap. A red X is displayed when the shot has been completed.
Delete a shot by tapping the button at the right of the top menu bar.
To step between shots for the current scene, swipe left or right with one finger.
TIP You need only set up details you are interested in. (e.g. you could choose to assume that shots are eye level and static unless you specified otherwise, and maybe you always use one camera).
TIP You may choose to use your own shorthand in the notes area, rather than using the spinners to set data- its up to you.
A note on image resolution
Storyboard images are intentionally stored at a reduced resolution within ShotList- suitable for full-screen display on your device, but lower than your device is capable of. This reduces the memory needed, and time taken to back up and share images.
You can ask ShotList to also save a high-res image to the photo roll on your device for each photo you take by enabling an option on the Shotlist page in the Settings App. This is useful if you are taking photos you would like linked to scenes within ShotList, such as location photos or continuity pics, that you may also need at full-resolution for other purposes.
